How I Became a Soap Maker
I made my first batch of cold process soap on November 18, 2002, as a Christmas gift for my friends. It was a wonderful experience that led to many more, until I had more soap than my family and friends could use.
Soap Selling Experience
I started selling at my local farmer's market in 2004. One year later my retail soap business became officially known as Great Cakes Soapworks. I enjoyed meeting my customers in person at the farmer's market and local craft shows for 10 years. My products were also available on this website until June 2022.
Teaching Soapmaking
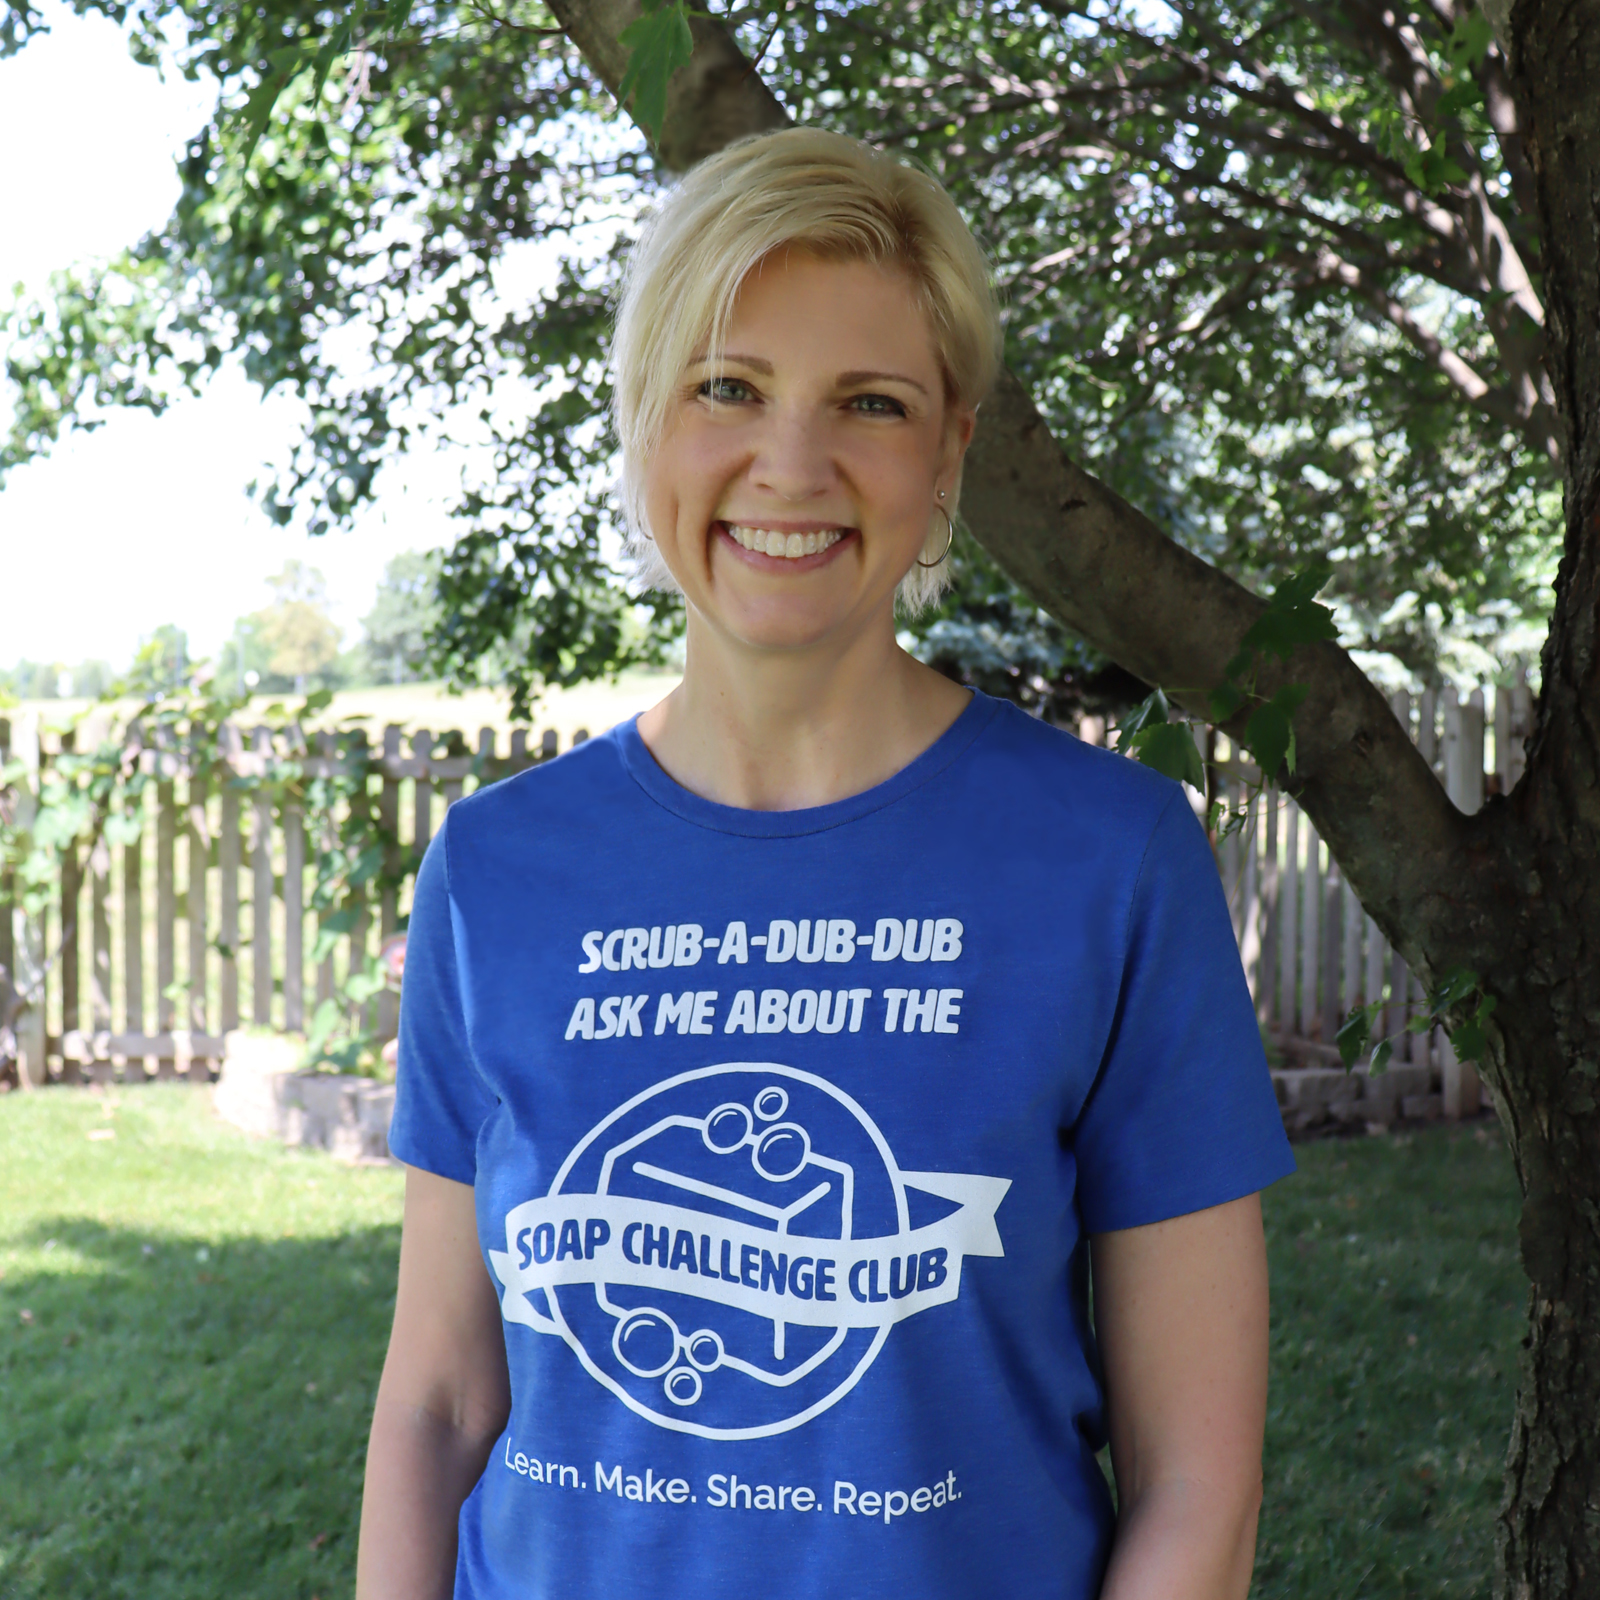
My absolute favorite part about making soap is the creative aspect of mixing various swirling and coloring techniques, textures, and fragrances. I started doing weekly soap challenges on my blog in March 2013 to engage with other soapmakers. It was so much fun, I decided to start a monthly Soap Challenge Club in June 2013. The Club is still my #1 passion! If you want to become a better soapmaker, this is the place to be!
Soap Challenge Club Notifications
©Great Cakes Soapworks 2022. All rights reserved